Recipe courtesy of Toni’s Garden.
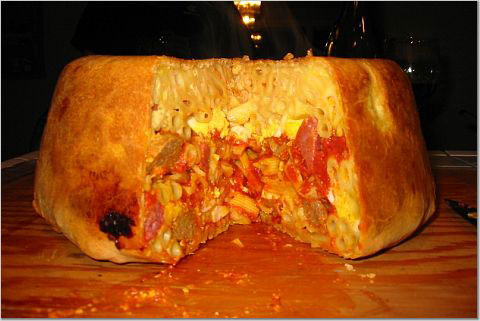
 Remember the movie Big Night and that final climactic dinner scene? The centerpiece of the meal was the Timpani, which is basically a “drum” filled with layers of pasta, meat, sauce, eggs. My wife and I are big fans of the movie, and one day, when we were watching the movie again on cable, I said, hey, let’s make that!
After a little research, I found a couple recipes. One is actually from the family cookbook of Stanley Tucci, who played Segundo in the movie. (Tony Shaloub played his older brother Primo.) You can buy the cookbook at Amazon.com.
The other recipe I found is from the recipe collection at Toni’s Garden. I ended up using it because it was inspired by the Tucci family recipe, and the directions were more in depth. I also thought the Sunday Sauce recipe that accompanied it sounded delicious, and I wanted to try to make the sauce completely from scratch. I’m posting this recipe here so I can include some of the pictures we took while creating this incredible dish.
We’ve made Timpáno twice. The first time, it cost us $100 because we went out and bought top-of-the-line ingredients. The second time it only costs us around $50 because we used cheaper (but still good-quality) ingredients, and it tasted just as good. You’ll save yourself a lot of time if you buy some premade pizza dough, but if you’re adventurous and want to make it from scratch, the dough recipe is also here.
INGREDIENTS
The Dough
4 cups all-purpose flour
4 large eggs
1 teaspoon kosher salt
3 tablespoons olive oil
1/2 cup water
Butter and Olive Oil to prepare the pan
The Filling
2 cups 1/4 x 1/2-inch Genoa salami pieces (approx. 3/4 lb.)
2 cups 1/4 x 1/2-inch sharp provolone cheese pieces (approx. 3/4 lb.)
12 hard-boiled eggs, shelled, quartered lengthwise and then each quarter cut in half to create chunks.
2 cups little meatballs about 1″ diameter
8 cups Sunday Sauce following the note at the beginning of recipe.
3 pounds, ziti or penne, cooked very al dente (about half the time recommended on the package) and drained (18 cups cooked)
2/3 cup finely grated pecorino Romano cheese
4 large eggs, beaten
A Few Notes Before Starting
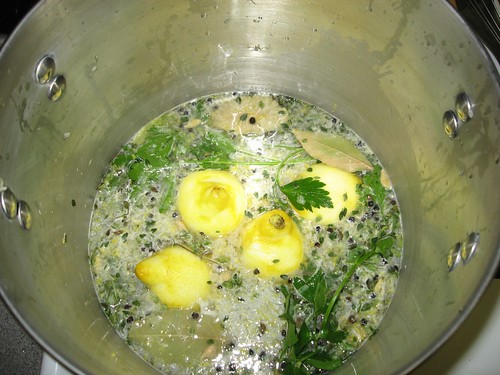
Make your sauce the day before. The meat that is not being used in the timpáno makes a great dinner the night before, along with a salad. Also, the sauce always tastes better the next day.
The dough for the timpáno is rolled into a 1/16″ thick round, the diameter which is determined by the size of your pan. Add together the diameter of the bottom and top of your pan, and double the height of the pan. The pan I used required a 30-inch diameter circle. I used an enamel basin similar to the one on the right. You can use almost any pan or bowl of similar shape.

Finally, read the recipe through a couple of times until you are familiar with the process. Although there are a lot of steps and preparation involved it is not a difficult recipe. Your experience will be less hectic if you take the time to prepare and measure all of your filling ingredients ahead of time. This is a great job for those guests that want to help! Enjoy!
Making the Dough
By hand
- Mix the flour and salt together on a clean , dry work surface or pastry board. Form into a mound and then make a well in the center.
- Break the eggs into the center of the well and lightly beat them with a fork. Stir in the olive oil and 3 tablespoons of the water.
- Use the fork to gradually incorporate some of the dry ingredients into the egg mixture.
- Continue mixing the dry ingredients into the eggs, adding the remaining water 1 tablespoon at a time.
- Knead the dough with your hands to make a well-mixed, smooth, dry dough. If the dough becomes to sticky, add more flour.
- Set aside to rest for 5-10 minutes, or refrigerate overnight.
- Bring to room temperature before rolling.
Using stand mixer
- Place all ingredients in the bowl except for the water.
- Turn the mixer on slowly and add 3 tablespoons of the water.
- Add more water, 1 tablespoon at a time, until the mixture comes together and forms a ball.
- Knead the dough on a lightly floured board to make sure it is well mixed.
- Set aside to rest for 5-10 minutes, or refrigerate overnight.
- Bring to room temperature before rolling.
Finishing the Dough
- Flatten out the dough on a lightly floured surface. Roll the dough to 1/16″ thickness, dusting with flour and turning from time to time, to prevent sticking.
- Generously grease the pan with butter and olive oil. Fold the dough in half and then in half again, to form a triangle, and place it in the pan.
- Open the dough and gently press it into the pan against the bottom and sides. Allow the extra dough to drape over the sides.
Cooking the Pasta
Cook the pasta in a very large pot of salted water until it is half done (it will finish cooking in the oven). place in a large bowl and toss with 2 cups of the sauce.
Preheat oven to 350F
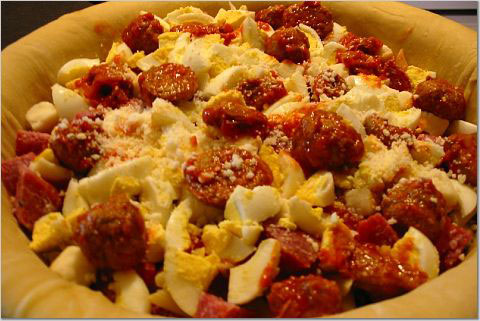
Filling the Timpáno
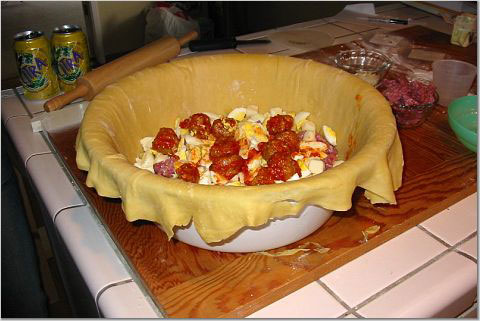
- Make sure the salami, provolone, hard-boiled eggs, meatballs, and sauce are at room temperature.
- Begin layering the Timpáno by distributing 6 generous cups of the pasta on the bottom of the timpáno.
- Top with 1 cup of the salami, 1 cup of the provolone, 6 of the hard-boiled eggs, 1 cup of the meatballs, and 1/3 cup of the Romano cheese.
- Pour 2 cups of the sauce over these ingredients.
- Continue layering with 6 cups of the remaining pasta.
- Top with remaining 1 cup of salami, 1 cup provolone, 6 hard-boiled eggs, 1 cup of meatballs and 1/3 cup Romano cheese.
- Pour 2 cups of the sauce over these ingredients and top with remaining 6 cups of pasta. (The ingredients should now be about 1″ below the rim of the pan.)
- Pour the remaining 2 cups of sauce over the pasta.
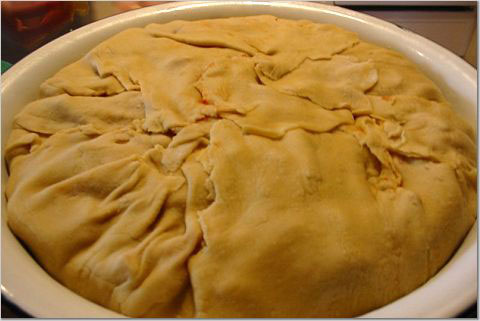
- Pour the beaten eggs on top.
- Fold the pasta dough over the filling to seal completely. Trim away and discard any double layers of dough.
Cooking the Timpano
- Bake the timpáno until lightly browned, about 1 hour, then cover loosely with aluminum foil and continue baking until the timpáno is cooked through and the dough is golden brown, about 30 minutes. The internal temperature should reach 120F.
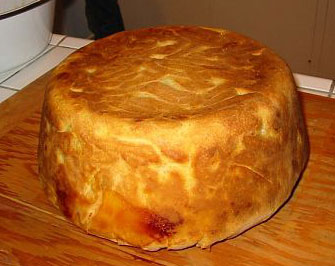
- Remove from oven and allow to rest for 30-40 minutes. The timpáno should not stick to the pan. If it does, carefully run a knife around the edges to loosen.
- Placing a serving platter or cutting board on top of the pan, and then quickly and with confidence, invert the timpáno onto a serving platter.
- Remove the pan and allow timpáno to cool another 20 minutes.
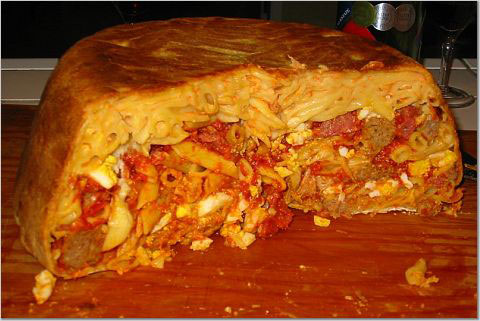
- Using a long, sharp knife, slice the timpáno as you would a pie into individual portions. Serves 16.

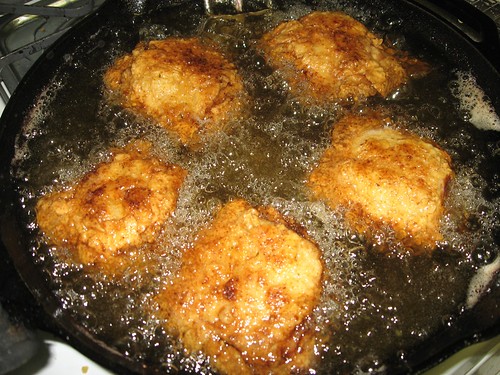
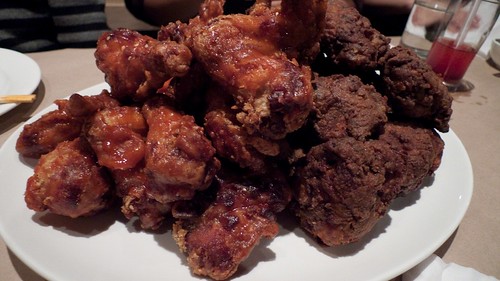 Noodle Bar’s Fried Chicken Platter
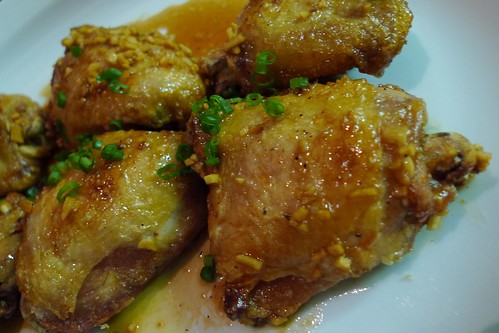
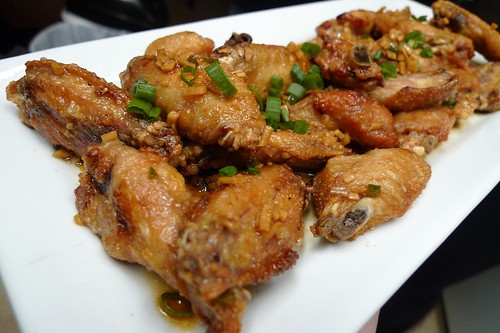 Works great on chicken wings, too!
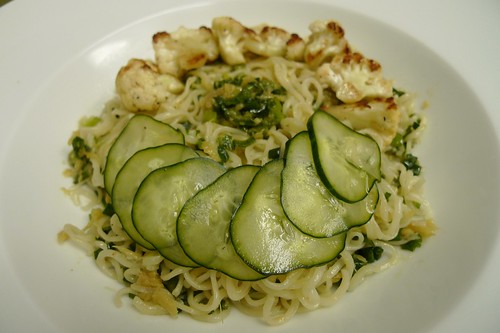 Ginger Scallion Noodles
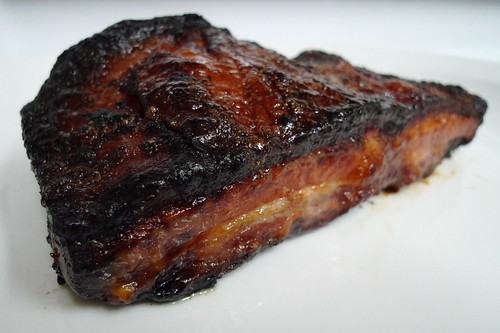 Pork belly fresh out of the oven.